

The MadeByHer Journal
Pedakiya Recipe — How to Make It at Home
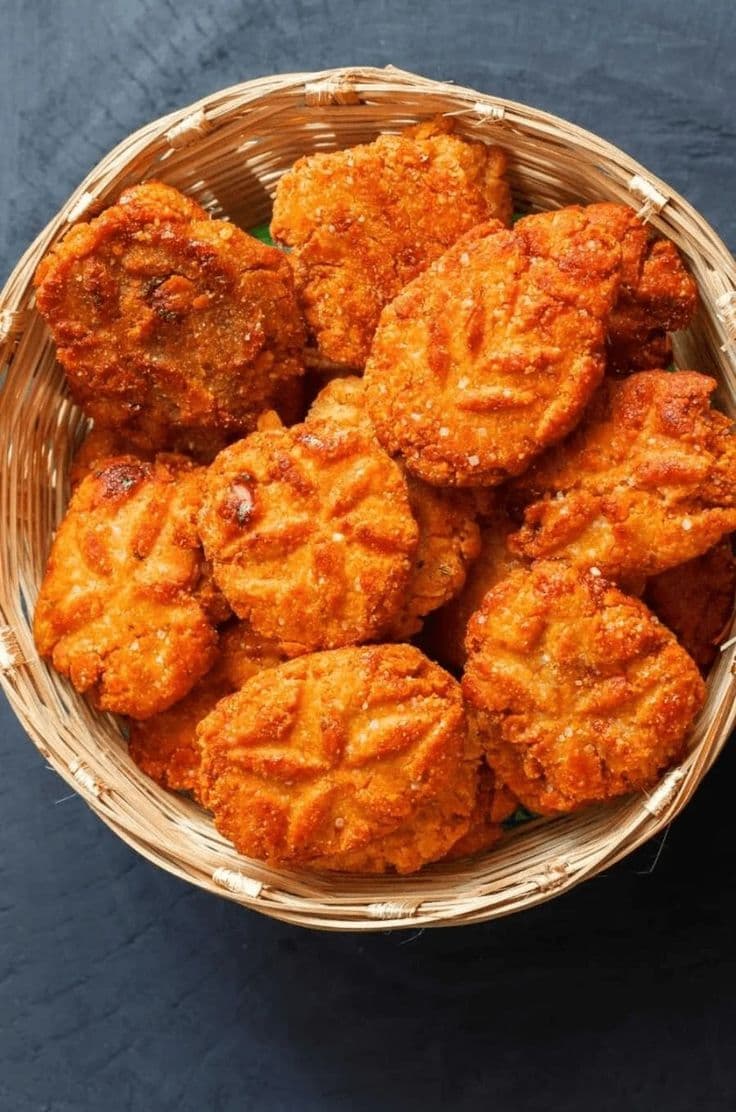
This pedakiya recipe covers the traditional Bihari method for this lesser-known fried, filled sweet — a good project if you're already comfortable with basic dough work and want to try something beyond the more commonly known gujiya.
Ingredients for the dough
Flour, a small amount of ghee worked in, and water to bring it together into a firm, workable dough — similar in principle to a gujiya or samosa dough, rolled thin enough to seal well but sturdy enough to hold through frying.
Ingredients for the filling
This varies significantly by family, but common options include grated coconut with sugar, khoya (reduced milk solids) with a little cardamom, or a jaggery-based sweet mixture. Pick one filling style to start with rather than trying to combine several, since each has a different moisture level that affects how well the pedakiya seals.
Step 1 — make the dough
Combine flour and ghee, rubbing the ghee in until evenly distributed, then add water gradually to form a firm dough. Let it rest for 15-20 minutes covered before rolling.
Step 2 — prepare the filling
If using coconut, combine grated coconut with sugar and cook briefly over low heat until slightly dry and fragrant — a wet filling is harder to seal successfully. If using khoya, lightly cook it with sugar and cardamom until it thickens slightly.
Step 3 — roll and fill
Roll the dough thin and cut into rounds. Place a small amount of filling in the centre of each — resist the urge to overfill, since this is the most common reason pedakiya bursts open during frying.
Step 4 — seal carefully
Fold the dough over the filling and crimp the edges firmly, either by hand or with a fork, making sure there are no gaps. This sealing step is the trickiest part of this pedakiya recipe and takes practice — a loosely sealed piece will leak filling into the oil during frying.
Step 5 — fry on medium heat
Heat oil to a medium temperature and fry the pedakiya slowly, turning occasionally, until golden brown on all sides — similar to thekua and nimki, a slower fry produces better, more even results than a fast, high-heat one.
Step 6 — cool before storing
Let the pedakiya cool completely before storing in an airtight container, same as with other traditional Bihari fried sweets.
Why pedakiya recipes vary so much between households
Because pedakiya isn't standardised or commercially mass-produced, nearly every family's version differs slightly — filling choice, dough thickness, shaping style — which is part of what makes trying pedakiya from different sources genuinely interesting rather than repetitive.
Adjusting sweetness to preference
This pedakiya recipe's sweetness level is genuinely adjustable — some households prefer a more subtly sweet filling, others a richer, more dessert-like result. Start with less sugar than you think you need in the filling; it's easier to note for next time than to fix an oversweet batch already fried.
Why the frying temperature matters as much as with thekua
Like thekua, pedakiya benefits from a patient, medium-heat fry rather than rushing at high heat — too hot and the outside browns before the filling inside is properly heated through, which is both a texture problem and, depending on the filling, potentially a food safety consideration if using a dairy-based filling like khoya.
Comparing pedakiya to gujiya
People new to pedakiya often ask how it differs from gujiya, the more widely known fried, filled sweet common across North India. The two share a similar basic structure — dough, filling, folded and fried — but pedakiya's shaping and filling traditions specifically reflect Bihari household practice, and it's a genuinely less commercially known item than gujiya, which is part of why it's harder to find outside home kitchens.
Serving pedakiya fresh versus stored
Pedakiya tastes noticeably best within the first few days after frying, while the exterior is still at its crispest — like most fried sweets, some textural quality is lost the longer it sits, even when stored properly airtight. If you're making or ordering it for a specific occasion, timing it close to that date rather than well in advance gives the best result.
Skipping the practice runs
Sealing technique in particular takes a few attempts to get consistently right. Browse homemade pedakiya, made using an established traditional method, if you'd rather not go through the learning curve yourself.
Every piece here is made by a real woman running her own small business.
Shop the marketplace →